Hi Guys,Welcome back, Today we discuss about Sample Gallery and how can we use sample gallery apps into our salesforce orgs.
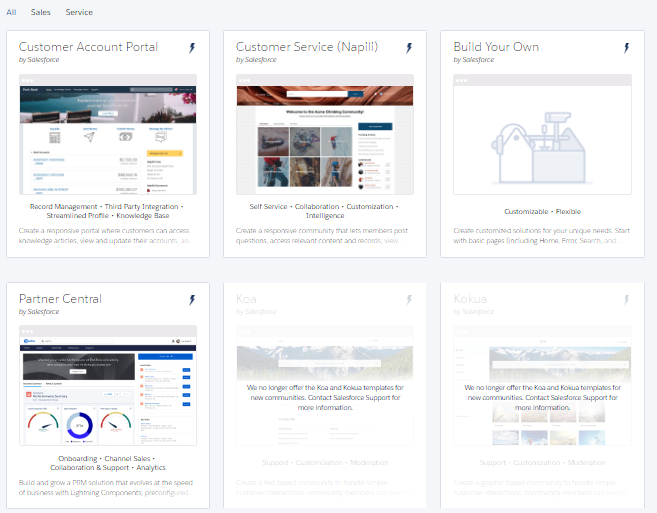
what are communities in Salesforce ?
Communities is a hub where can your Employees, Customer and Partners be gathered at one place. It helps to users share information and collect updates from partner or external users to track company. By using communities you can easily connect with internal users, portal users and external users.
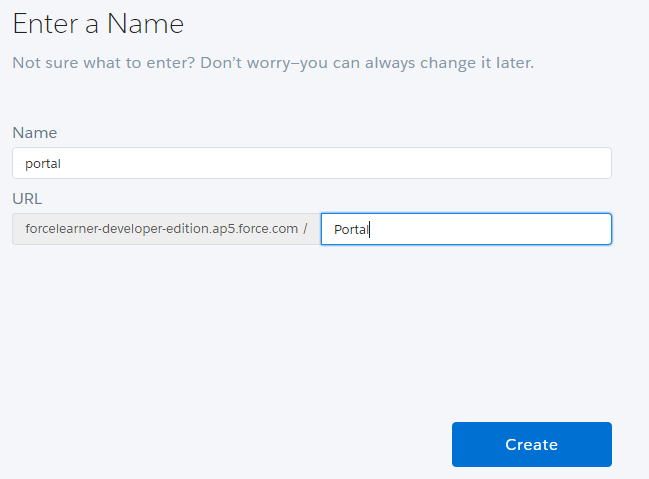
Login to your account.
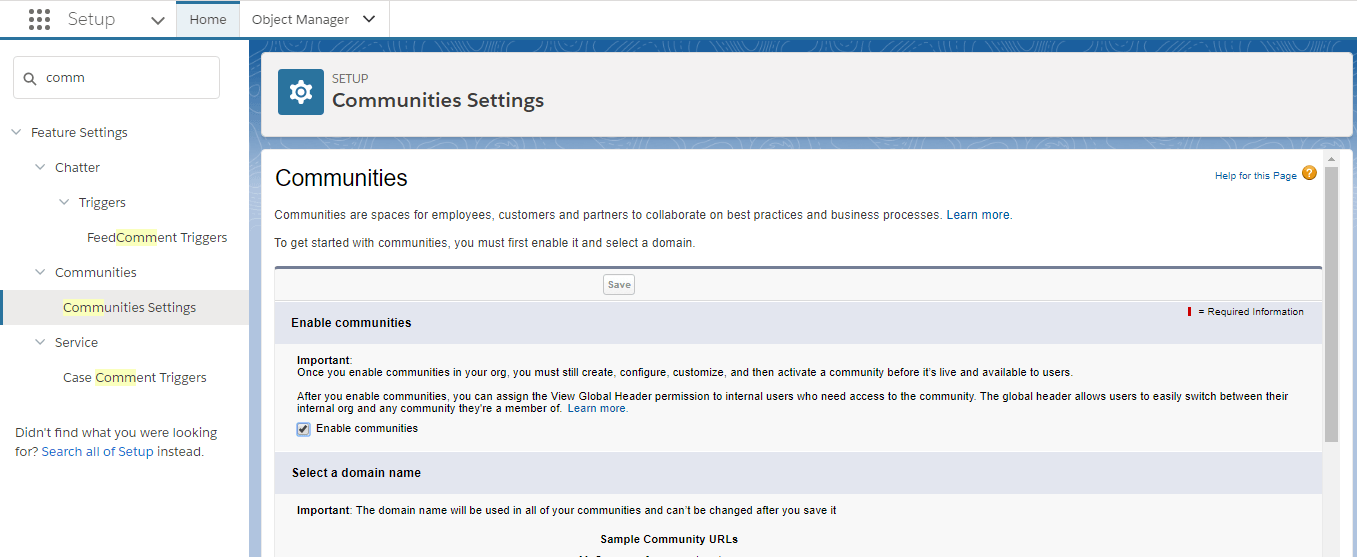


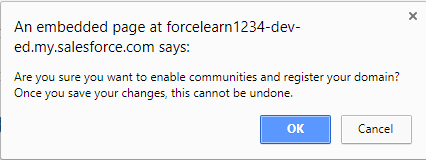
you cannot change domain name once you have created. So we suggest you that keep you company name as be your portal domain name.

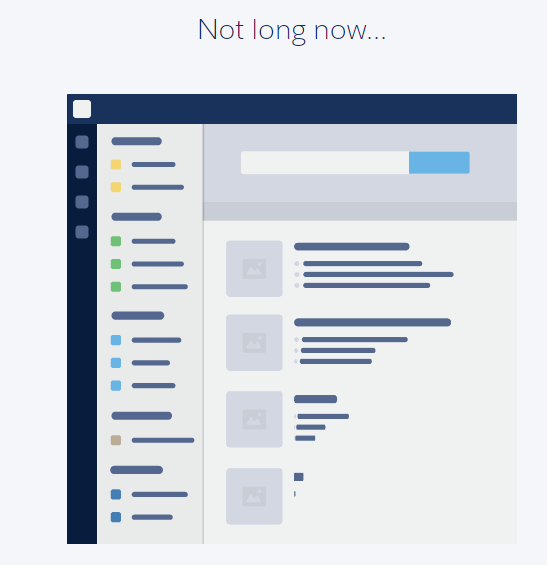
Hurry !!! Now you have created your new community.
Download: SalesforceQA
Please comments us for more updates and share to other to help. Keep Visiting us for more updates Like us for more updates Fb Page : ForceLearn keep share to help others 😎 😎 😎
Hi Guys,Welcome back, Today we discuss about Sample Gallery and how can we use sample gallery apps into our salesforce orgs.
 By ForceLearn/header.png)
Hi Guys,Welcome back, we have started with new topics to get intro on Lightning web components and Setup for them.
Today we discuss about how to display lightning Component in visualforce page, we have design multiple lightning component in lightning to achieve functionality to client.
Do you have any queries please reach out us.